
As an Amazon Associate I earn from qualifying purchases.
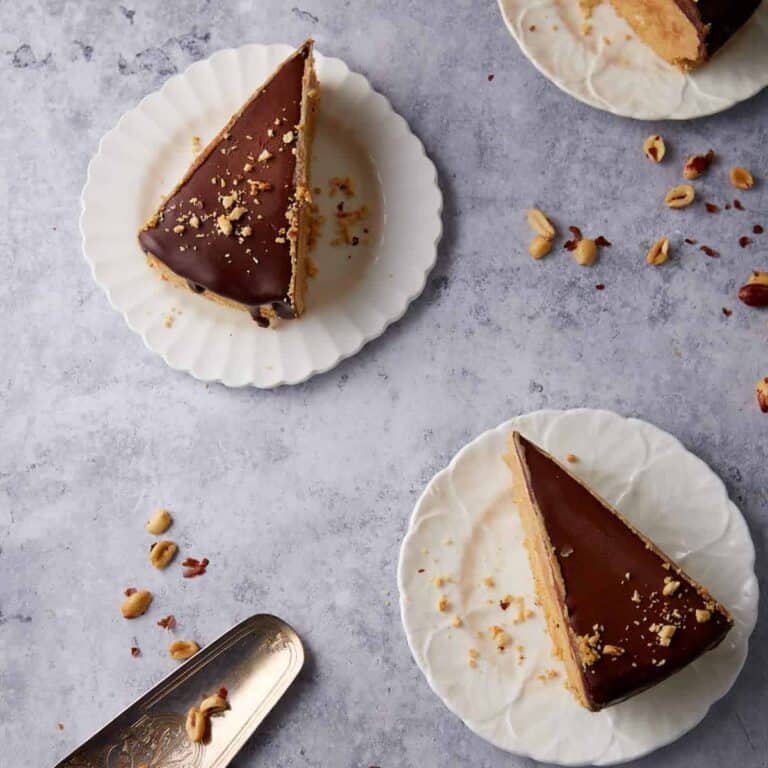
A buttery graham cracker crust holds a rich peanut butter and cream cheese filling, lightened with whipped cream and finished with a smooth chocolate ganache, no baking, and no gelatin. It comes together in about 30 minutes of prep, then the fridge does the rest for at least 6 hours. This is the kind of pie you make the day before a gathering so one less thing is on your mind.
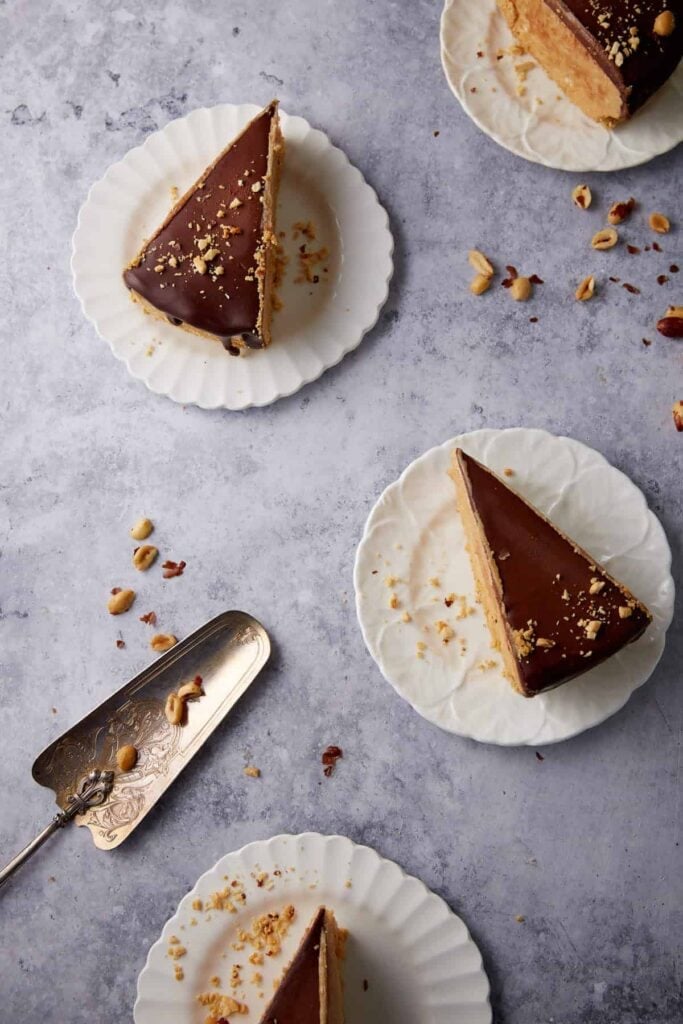
A Peanut Butter Pie That Sets Perfectly Every Time
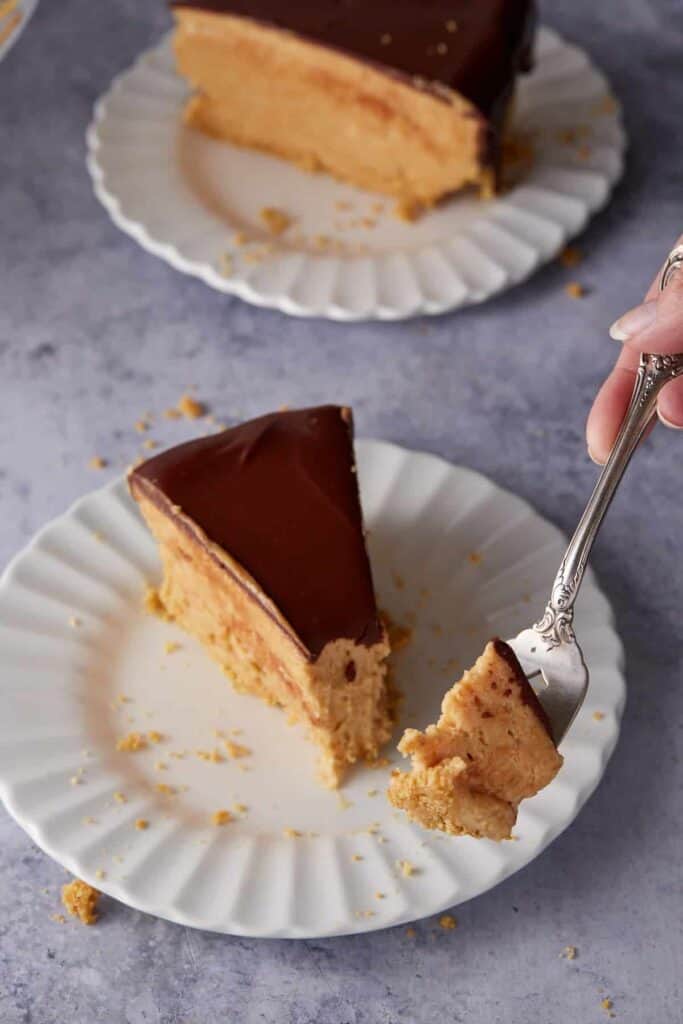
Most peanut butter pie recipes reach for gelatin, or instant pudding mix, to make sure the filling holds its shape. This one skips all three. Cream cheese, whipped cream, and time in the fridge do the work instead, so the filling comes out light and mousse like rather than dense or gummy.
If you’ve ever worried a no bake pie would stay too soft to slice cleanly, six hours in the fridge takes care of that. Even the chocolate ganache on top comes together smooth instead of seizing, no special technique required. This is the kind of pie you can hand someone a slice of and know it will hold its shape from the first cut to the last.
Chasing the Rich, Restaurant-Style Version
Peanut butter has always been one of my favorite flavors, and I wanted to recreate the kind of rich, restaurant-style peanut butter pie. Two full cups of creamy peanut butter blended with cream cheese, sugar, and vanilla give the filling real depth instead of a thin, overly sweet taste. It’s the recipe I landed on years ago and still make today, right alongside another peanut butter and chocolate favorite in my house, this no-bake turtle pie with an Oreo crust and caramel sauce.
Cool Whip Lost, Heavy Cream Won
When I was developing this pie, I tried folding in Cool Whip the way a lot of no bake pies do to save a step, and the flavor fell flat. Real heavy cream, whipped by hand to stiff peaks and folded in gently, made the biggest difference in both flavor and richness. It’s one extra bowl for a filling that actually tastes like peanut butter and cream instead of peanut butter and air.
A Fall and Winter Dessert When Fruit Isn’t in Season
This is the pie I make once the weather turns and fresh fruit disappears from the farmers market. A no bake peanut butter pie fills the same make-ahead role that fruit pies do in summer, without ever competing for oven space during a busy fall or winter meal. It’s the dessert I reach for at holiday dinners and any special occasion.
Rich Enough to Feed a Crowd in Small Slices
My entire family asks for this pie, and it’s been on our table for years. Because peanut butter and cream cheese make the filling so rich, you can cut it into 16 thin slices instead of the usual 8 and everyone still leaves satisfied. One 9 inch springform pan feeds a crowd without doubling a recipe or baking two pies.
If you’re not craving peanut butter next time, this one belongs in the same make-ahead pie category as my no bake lemon curd pie with a vanilla wafer crust, so keep it in mind when you want something fruitier instead of rich and chocolatey.
Before You Start This Pie
- Room temperature cream cheese and butter blend smoothly into the peanut butter without lumps. Cold cream cheese straight from the fridge can lead to lumps.
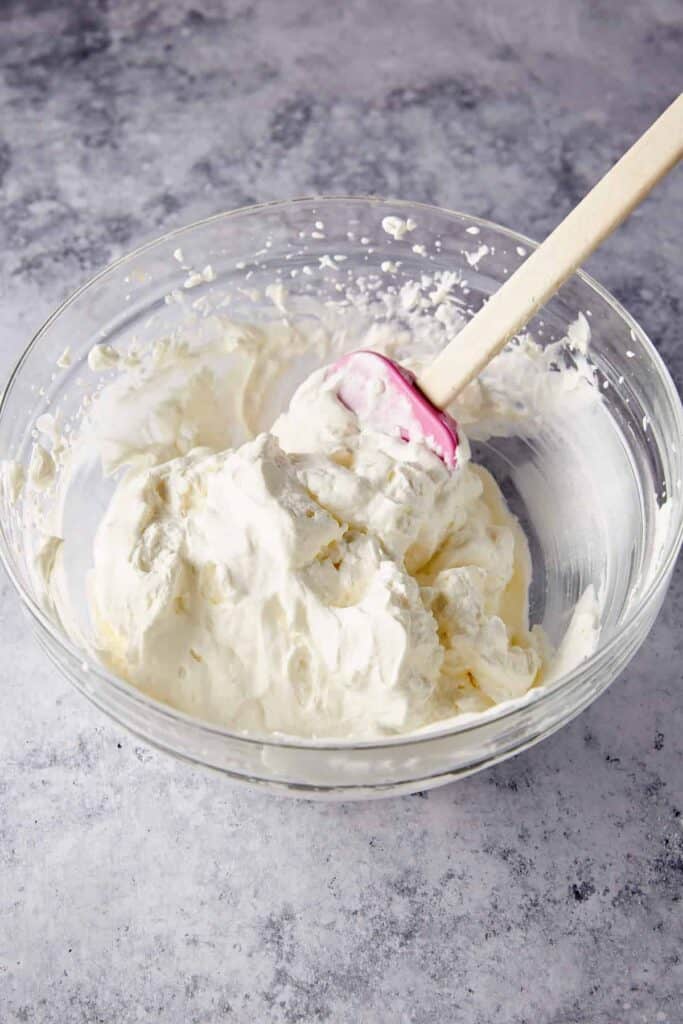
- Beat the heavy cream to stiff peaks first, then fold it into the peanut butter mixture with a spatula instead of the mixer. Overmixing at this stage knocks the air back out and flattens the texture.
- Wait the full 6 hours before releasing the springform pan. Removing it too early is the easiest way to end up with a filling that slides instead of holding its shape when sliced.
- Pour the warmed heavy cream over the chopped chocolate and let it sit for a minute before stirring. Stirring too soon or using cream that’s too hot can cause the ganache to separate instead of turning smooth.
Simple Ingredients, Rich Result
Exact amounts are in the recipe card at the bottom.
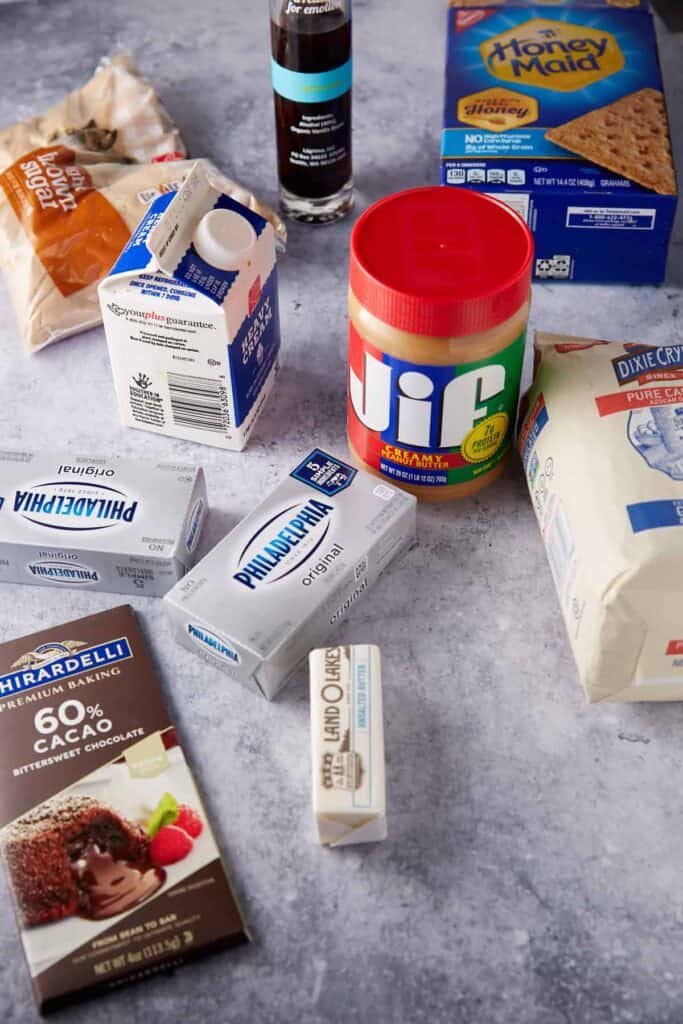
- Creamy peanut butter, not natural. Stick with a shelf-stable brand like Jif or Skippy. Natural peanut butter separates and can leave the filling greasy or too soft to set properly.
- Semi-sweet chocolate bar, chopped, rather than chocolate chips. Chips are made to hold their shape and can turn grainy once melted, while a chopped bar melts into a smooth ganache.
- Heavy cream does double duty here, whipped to stiff peaks for the filling and gently warmed for the ganache, so you’ll need 2 cups total split between the two uses.
Press, Fold, Chill, Repeat
Step One: Make The Crust
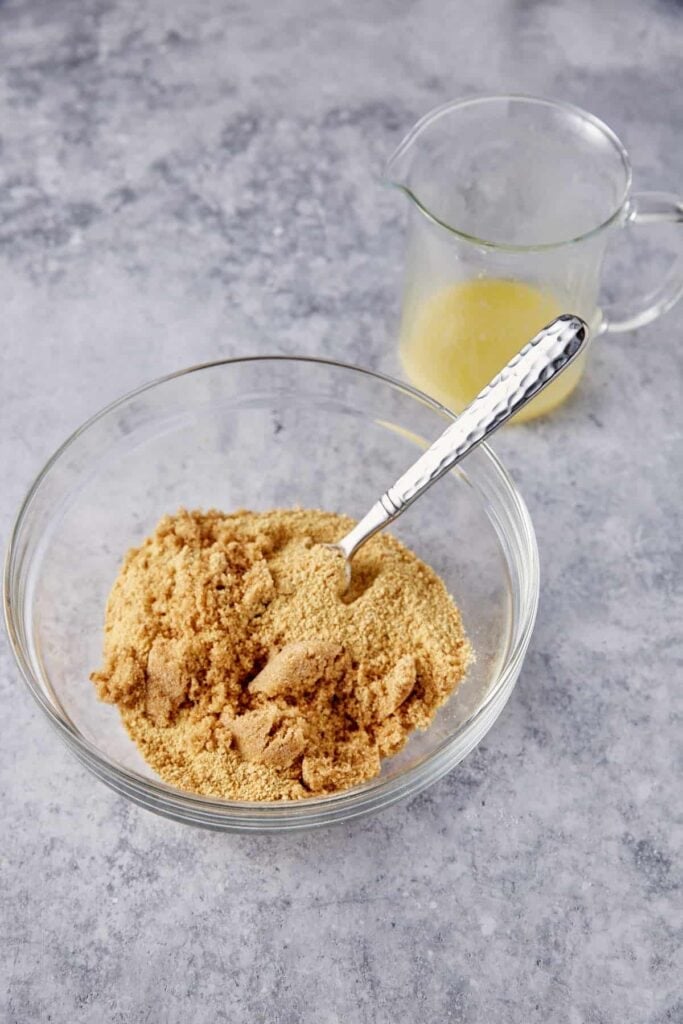
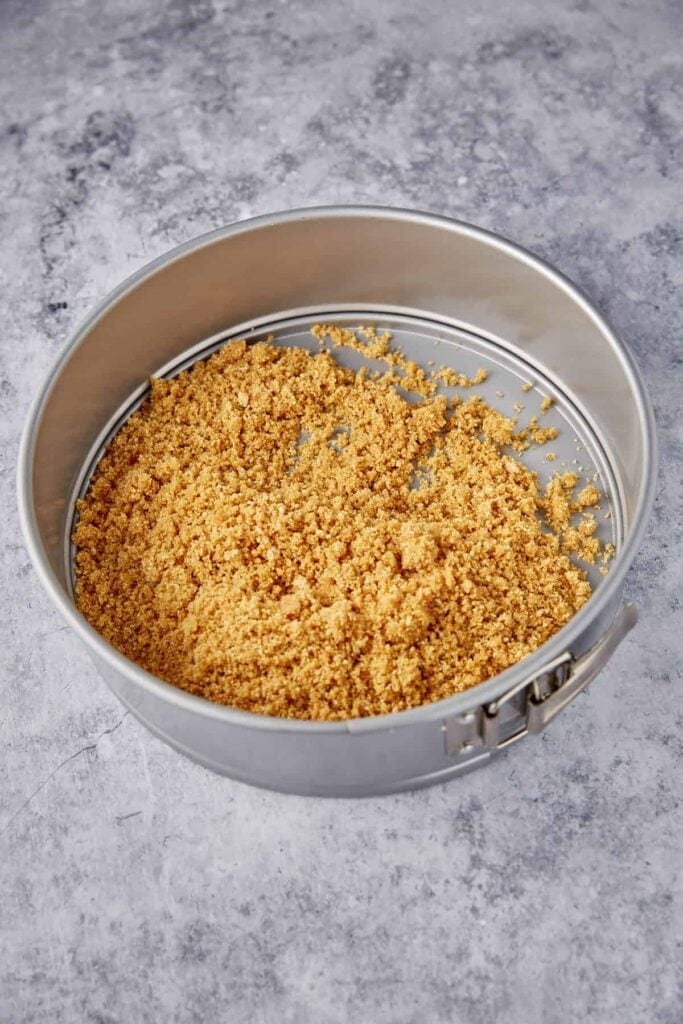
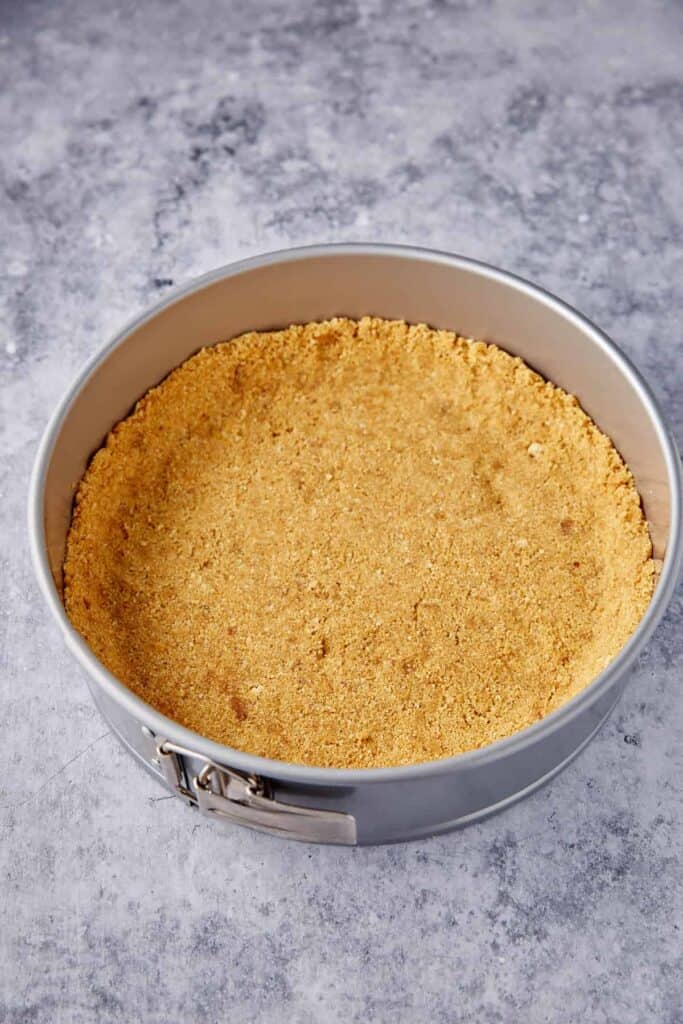
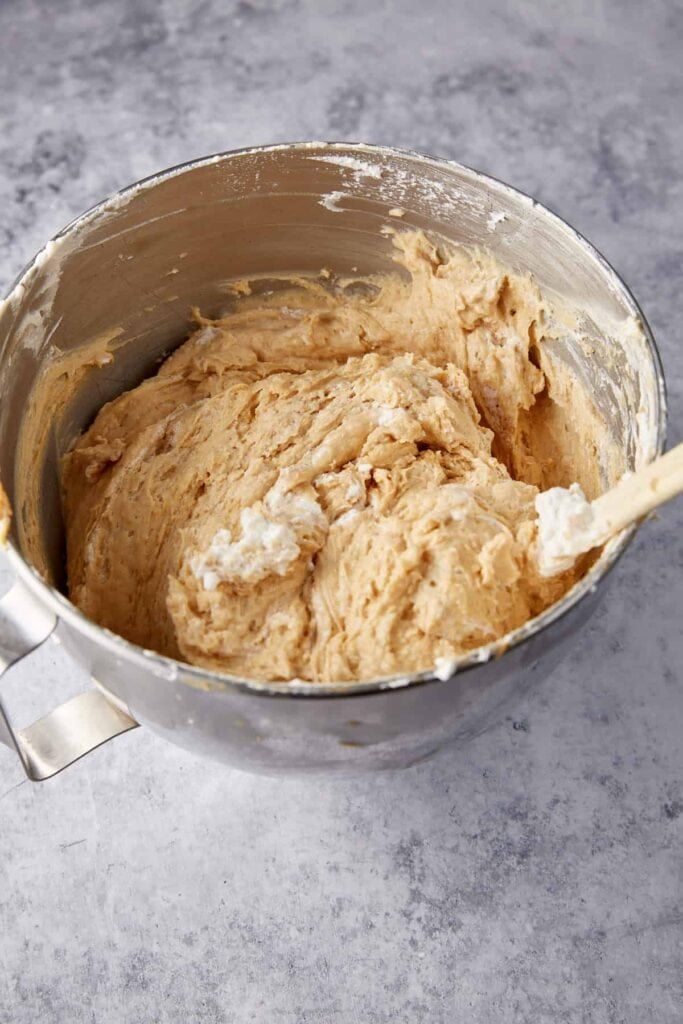
Step Two: Mix The Filling
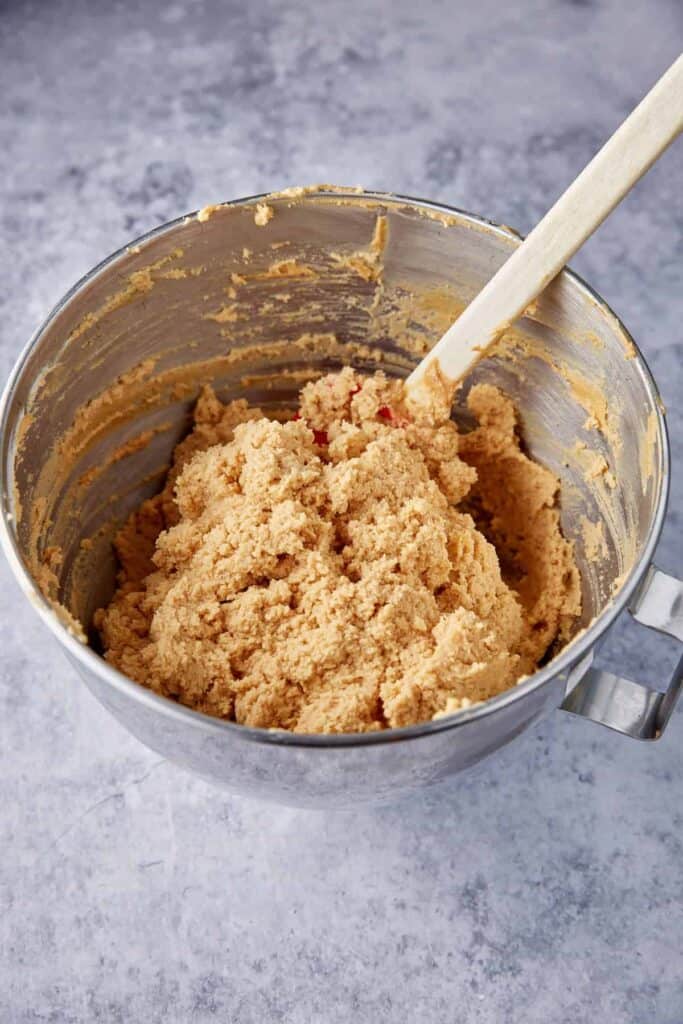
Step Three: Chill The Pie
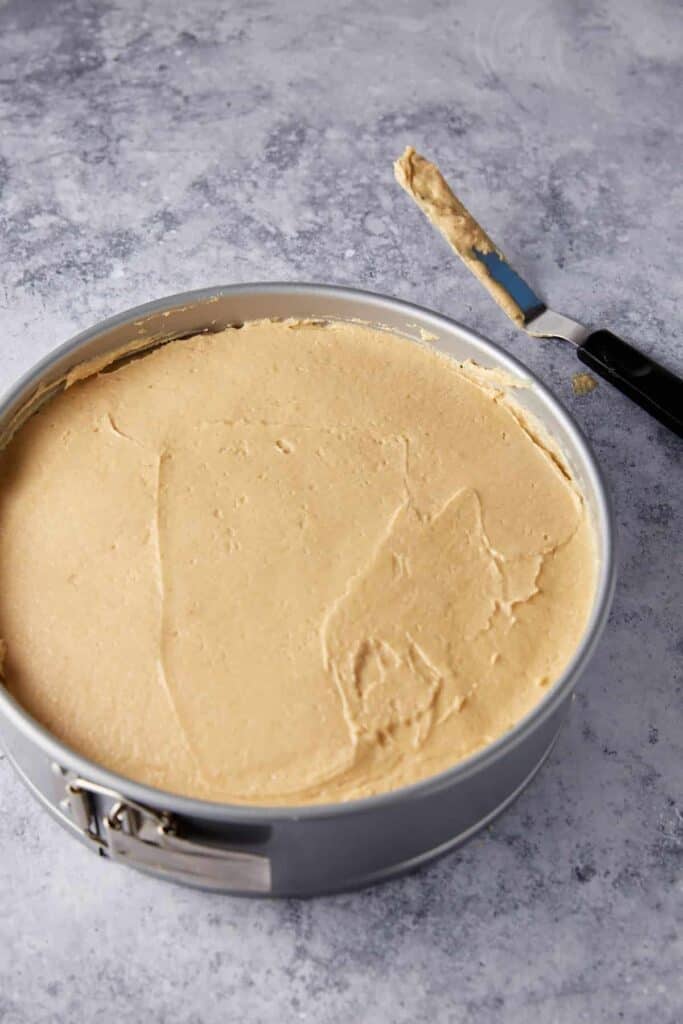
Do not rush the chill time: This pie gets soft fast at room temperature and slices much better when fully cold.
Step Four: Make The Ganache
Place the chopped chocolate in a small bowl. Heat the cream until hot, pour it over the chocolate, and stir until smooth and glossy.
Step Five: Finish The Top
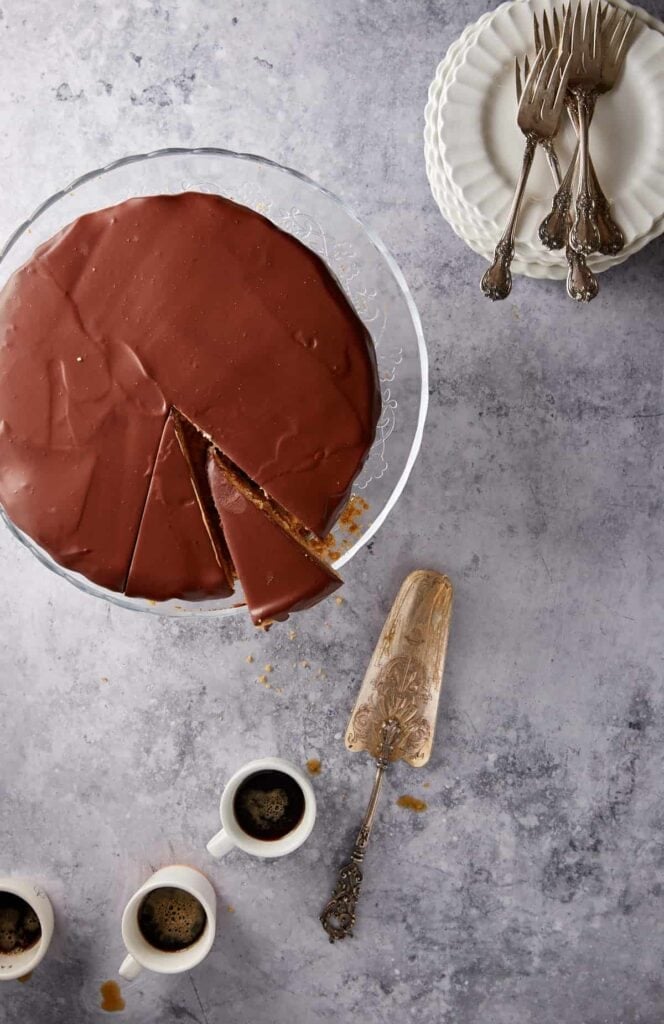
Spread the ganache over the top of the chilled pie, letting a little drip down the sides if you want that look. Return it to the fridge until the topping is set, then slice and serve cold.
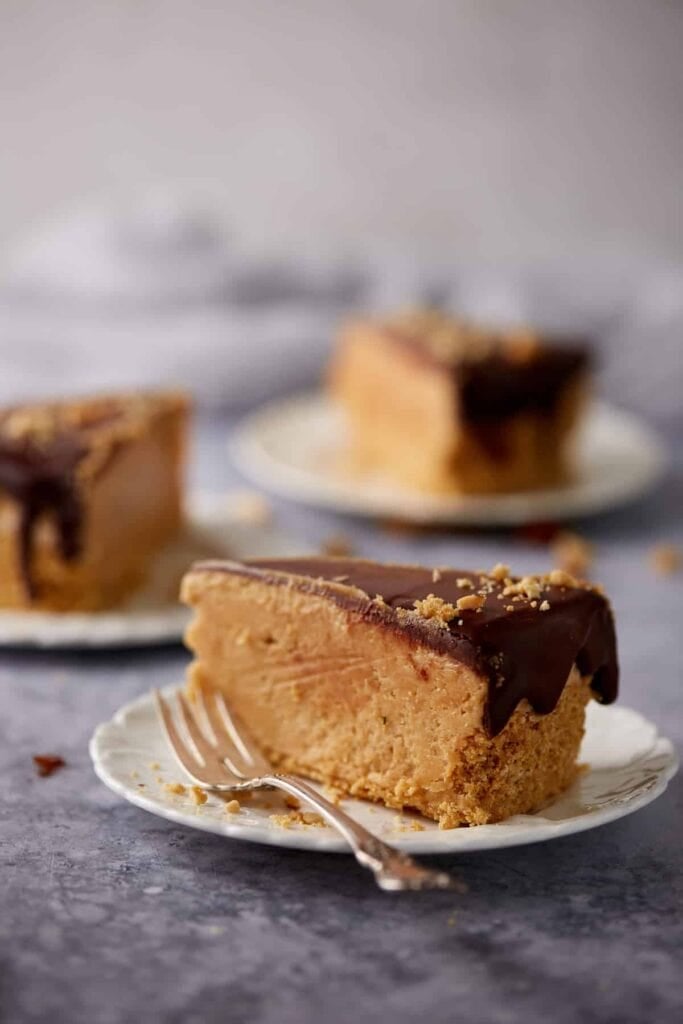
Use a warm knife for neat slices: Wipe it clean between cuts, and the layers stay sharp.
This peanut butter pie proves a make-ahead dessert can still taste like something worth waiting for, no oven to watch and no baking time to get wrong, so it’s about as hard to mess up as dessert gets. Looking for more? Browse the full Pies, Cobblers & Crisps collection for more make-ahead options.
Don’t Forget!
Like and review this post – it helps our website grow so we can give you more delicious Southern recipes!
Equipment
Ingredients
Pie
- 1 cup Graham cracker crumbs
- ¼ cup Brown sugar
- ¼ cup Butter melted
- 2 cups Creamy peanut butter
- 2 cups Sugar
- 16 ounces Cream cheese room temp
- 2 tablespoons Butter room temp
- 2 teaspoons Vanilla extract
- 1 ½ cup Heavy cream
Ganache
- 4 ounces Semi-sweet chocolate
- ½ cup Heavy cream
Instructions
- Combine graham cracker crumbs, brown sugar and melted butter in a bowl. Press into the bottom of a 9 inch springform pan going slightly up the sides. Place in the refrigerator to set while making the filling.
- With an electric mixer on low speed, beat peanut butter, sugar, cream cheese, 2 tablespoons softened butter and vanilla until smooth and creamy. Beat until well combined about 1-2 minutes, scraping down the sides.
- In a separate bowl, beat heavy cream until stiff peaks form. Gently fold it into the peanut butter mixture. Spoon into the springform pan. Smooth out the top and refrigerate for at least 6 hours. Remove the edges of the springform pan.
- Add chopped chocolate to a small bowl. Heat cream in the microwave for 1 minute and slowly pour it over the chocolate stirring until it is smooth and silky. Spread over the top of the chilled pie, drizzling down the sides if desired.
Notes
- Store covered in the refrigerator for up to 5 days. This pie doesn’t freeze well since the filling’s texture changes once thawed.
- No springform pan? A 9 inch deep dish pie plate works too, just skip removing the sides and serve straight from the dish.



This no-bake peanut butter pie seems perfect for making ahead, especially since it needs several hours in the fridge. The combination of peanut butter, cream cheese, and chocolate ganache sounds incredibly rich, so smaller slices would probably be just right.